Configuring Your Public Cemetery Website
One of the benefits of having digital, cloud based cemetery records, is the ability to share a limited version of your records with cemetery visitors and your local community. This article will walk through how to set up and configure a public cemetery website within Cemify.
Introduction
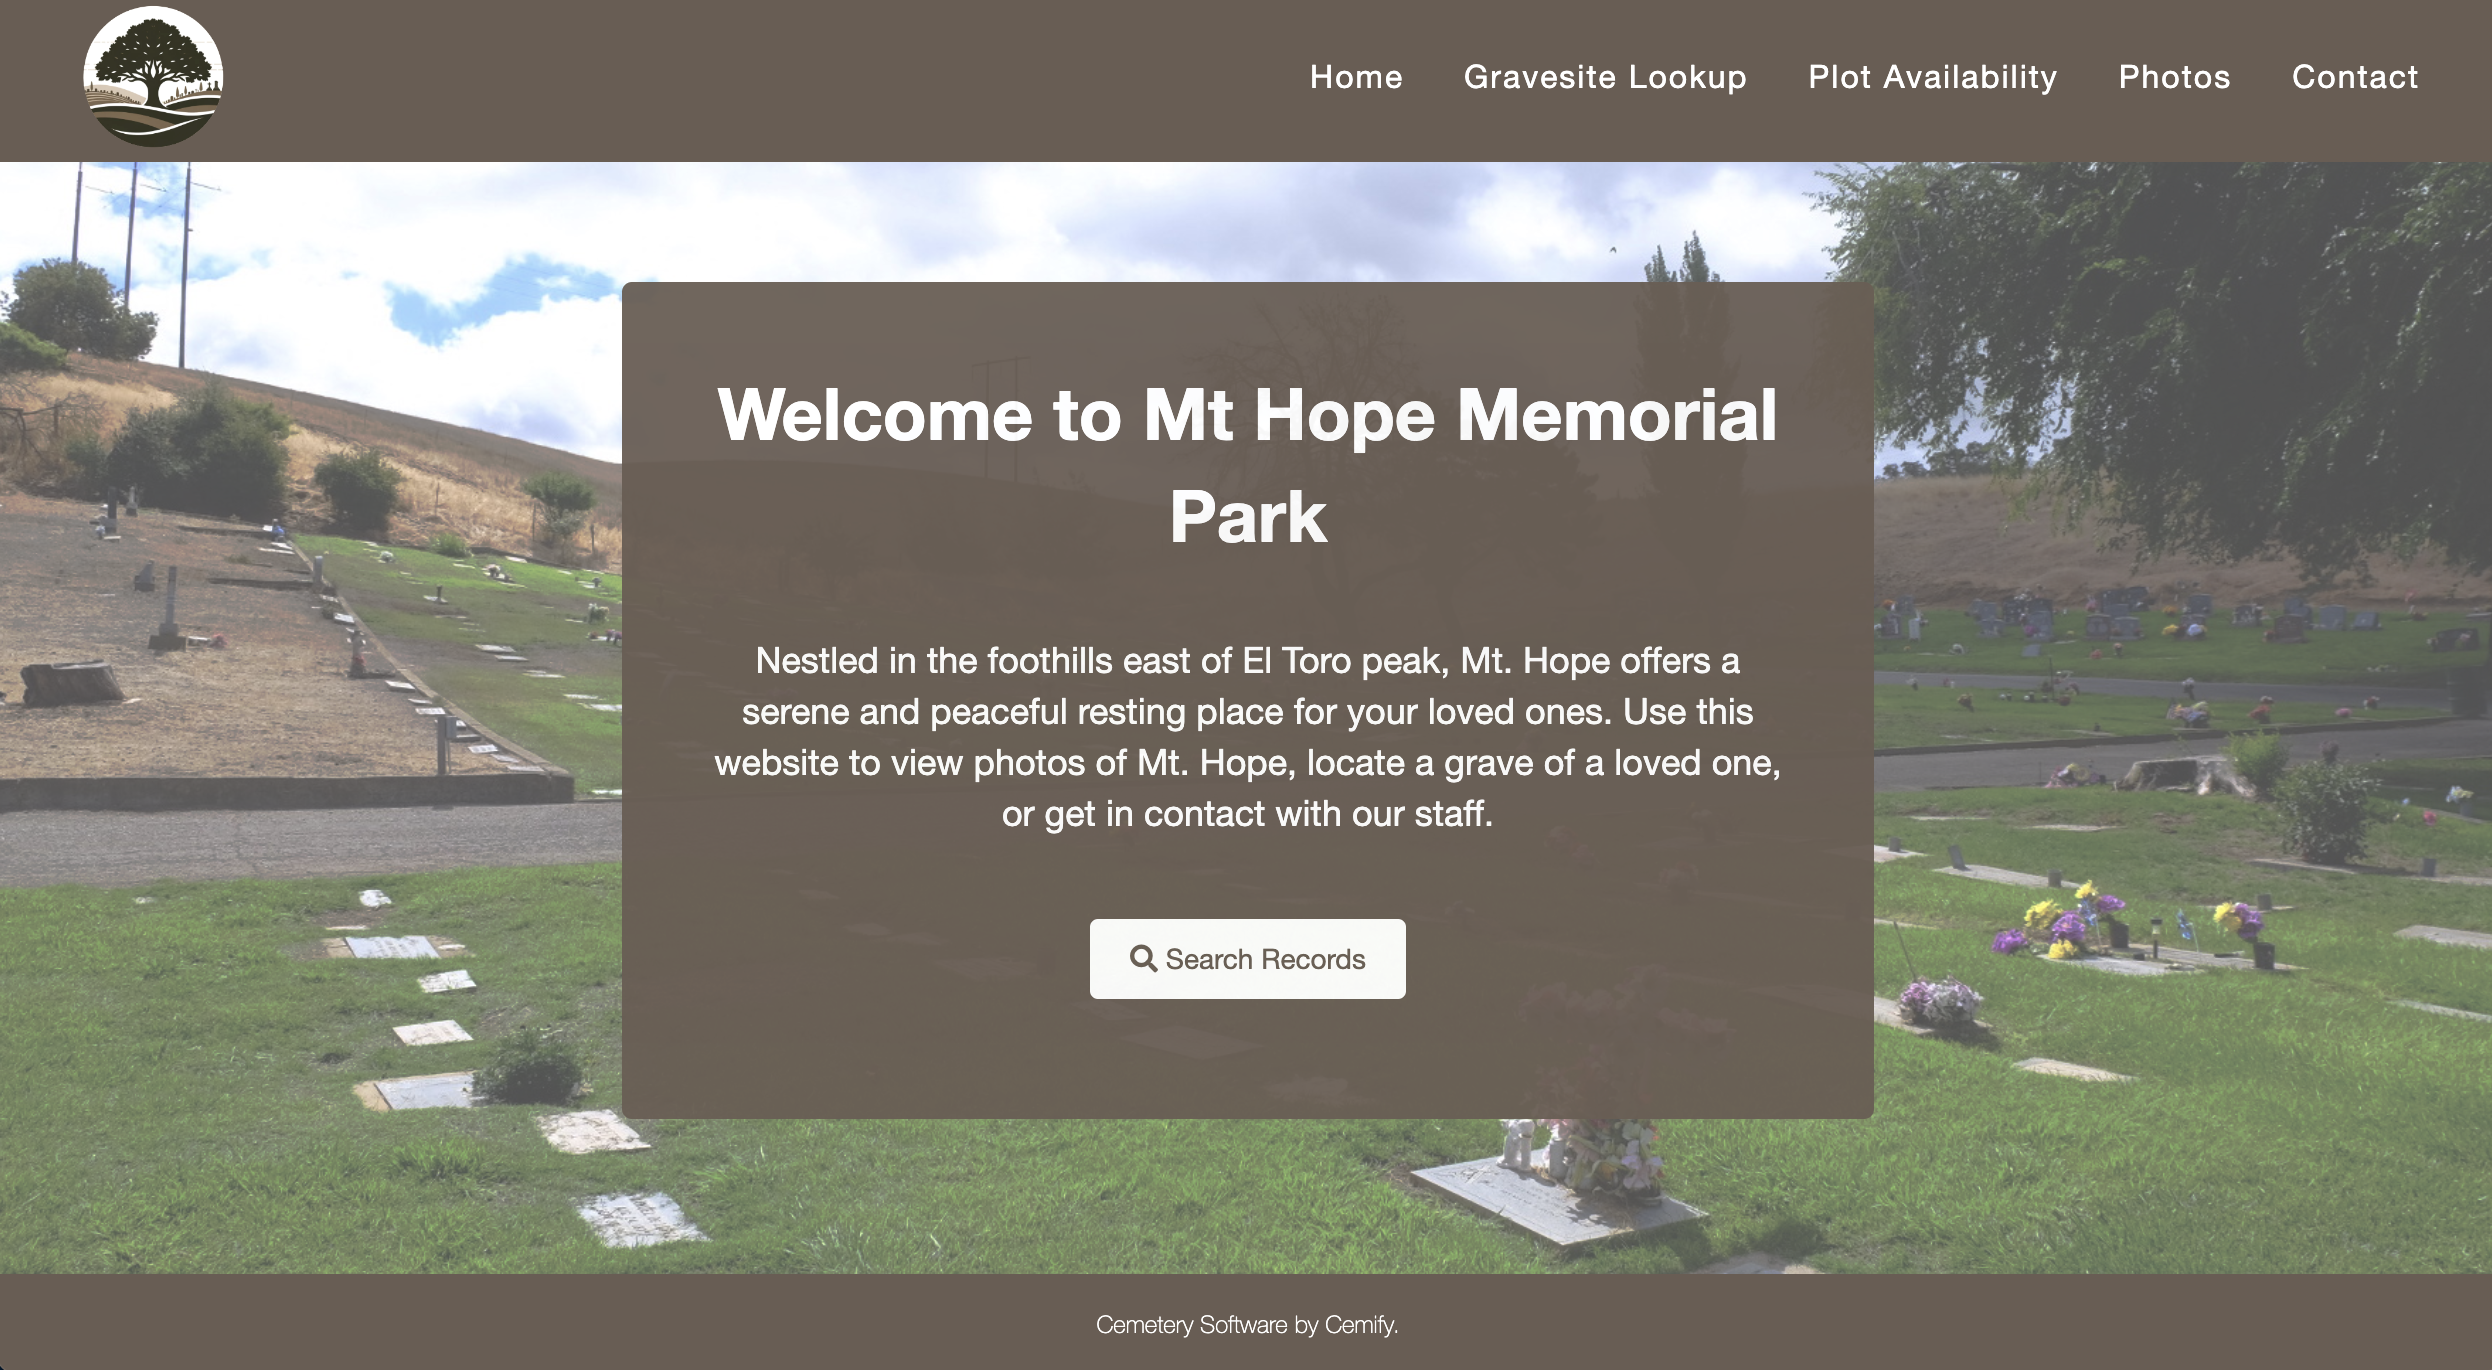
For each cemetery within your Cemify account, you have the option to enable a public portal. This portal will be hosted on a Cemify URL, eliminating the need for you to handle hosting, domain registration, and other website maintenance costs.
As an example, your cemetery URL would look something like this:
https://www.cemify.com/cem/mt-hope-cemetery
In this example, "mt-hope-cemetery" is unique to your cemetery and customizable. Unlike your primary Cemify administrative account (which requires an email and password to login), this URL and all its contents will be publicly accessible by anyone with an internet connection.
Configuring Your Public Website
To set up your public website, log in to Cemify and go to Account & System Settings in the top right menu. Then, click on Public Website in the left-hand menu. This will take you to the configuration settings for your public website.
Note: public websites can only be configured by system administrators. Learn more about users and permissions here.
In the left hand menu, you will see a variety of options for configuring your public website, including:
Basic Information
Control whether or not your website is published, your cemeteries publicly visible contact information, logo and overview.
Design Options
Choose your homepage layout & color scheme.
Public Records Search
Choose whether or not you'd like to include a gravesite lookup map. Please note, for any changes to your map styling and design, please reach out to our support team at support@cemify.com.
Rules & Regulations
Include a list of cemetery rules and regulations.
Documents
Upload relevant cemetery documents (for example, price sheets, standard agreements, etc.) for the public to download.
Links
Include any links relevant to the cemetery. For example, local funeral homes or the cemeteries primary website (if the Cemify portal is not the primary.)
Photos
Add photos of the cemetery, allowing the public to get a feel for the cemetery grounds.
Plot Availability Map
Choose whether or not you'd like to include a plot availability map, to show the public which plots are available. Please note, for any changes to your map styling, please reach out to our support team at support@cemify.com.
As you configure your website, the public website will adapt and add navigation automatically. For example, adding at least one document will enable the "Documents" tab in the websites header.
Choosing An Initial Design
Since there are several customization options, you may want some assistance with getting your initial design setup. If you'd like our support team to set up an initial design (which you can then customize) just reach out to support@cemify.com.
Frequently Asked Questions
How can I promote the public website to cemetery visitors and my community?
Check out this detailed guide for tips on promoting your website, such as creating QR codes and linking to existing websites.
Can I host all of my cemeteries within one website?
At this point, each cemetery will have it's own unique website. However, we have plans to allow consolidation of cemeteries into one website in the future.
Can I embed a map in an external website?
We do not offer externally embeddable maps. However, you can link to the map from any other website.
Can I control what fields show publicly?
Yes, you can control what fields (for burials and plots) show on your public map. Just reach out to support@cemify.com with your specifications and we will adjust the map on your behalf.